
![]()
Fresh green plums taste sour and bitter, so they are usually processed before consumption. The production of Q Me does not require high ripeness of green plums. As long as they are not fully ripe or overripe, they can be used.
The pickling process of Q Me should not involve water, otherwise it is easy to mold. It is best not to wash the plums, but if you must, they must be air-dried until the surface is completely dry before starting the production process.
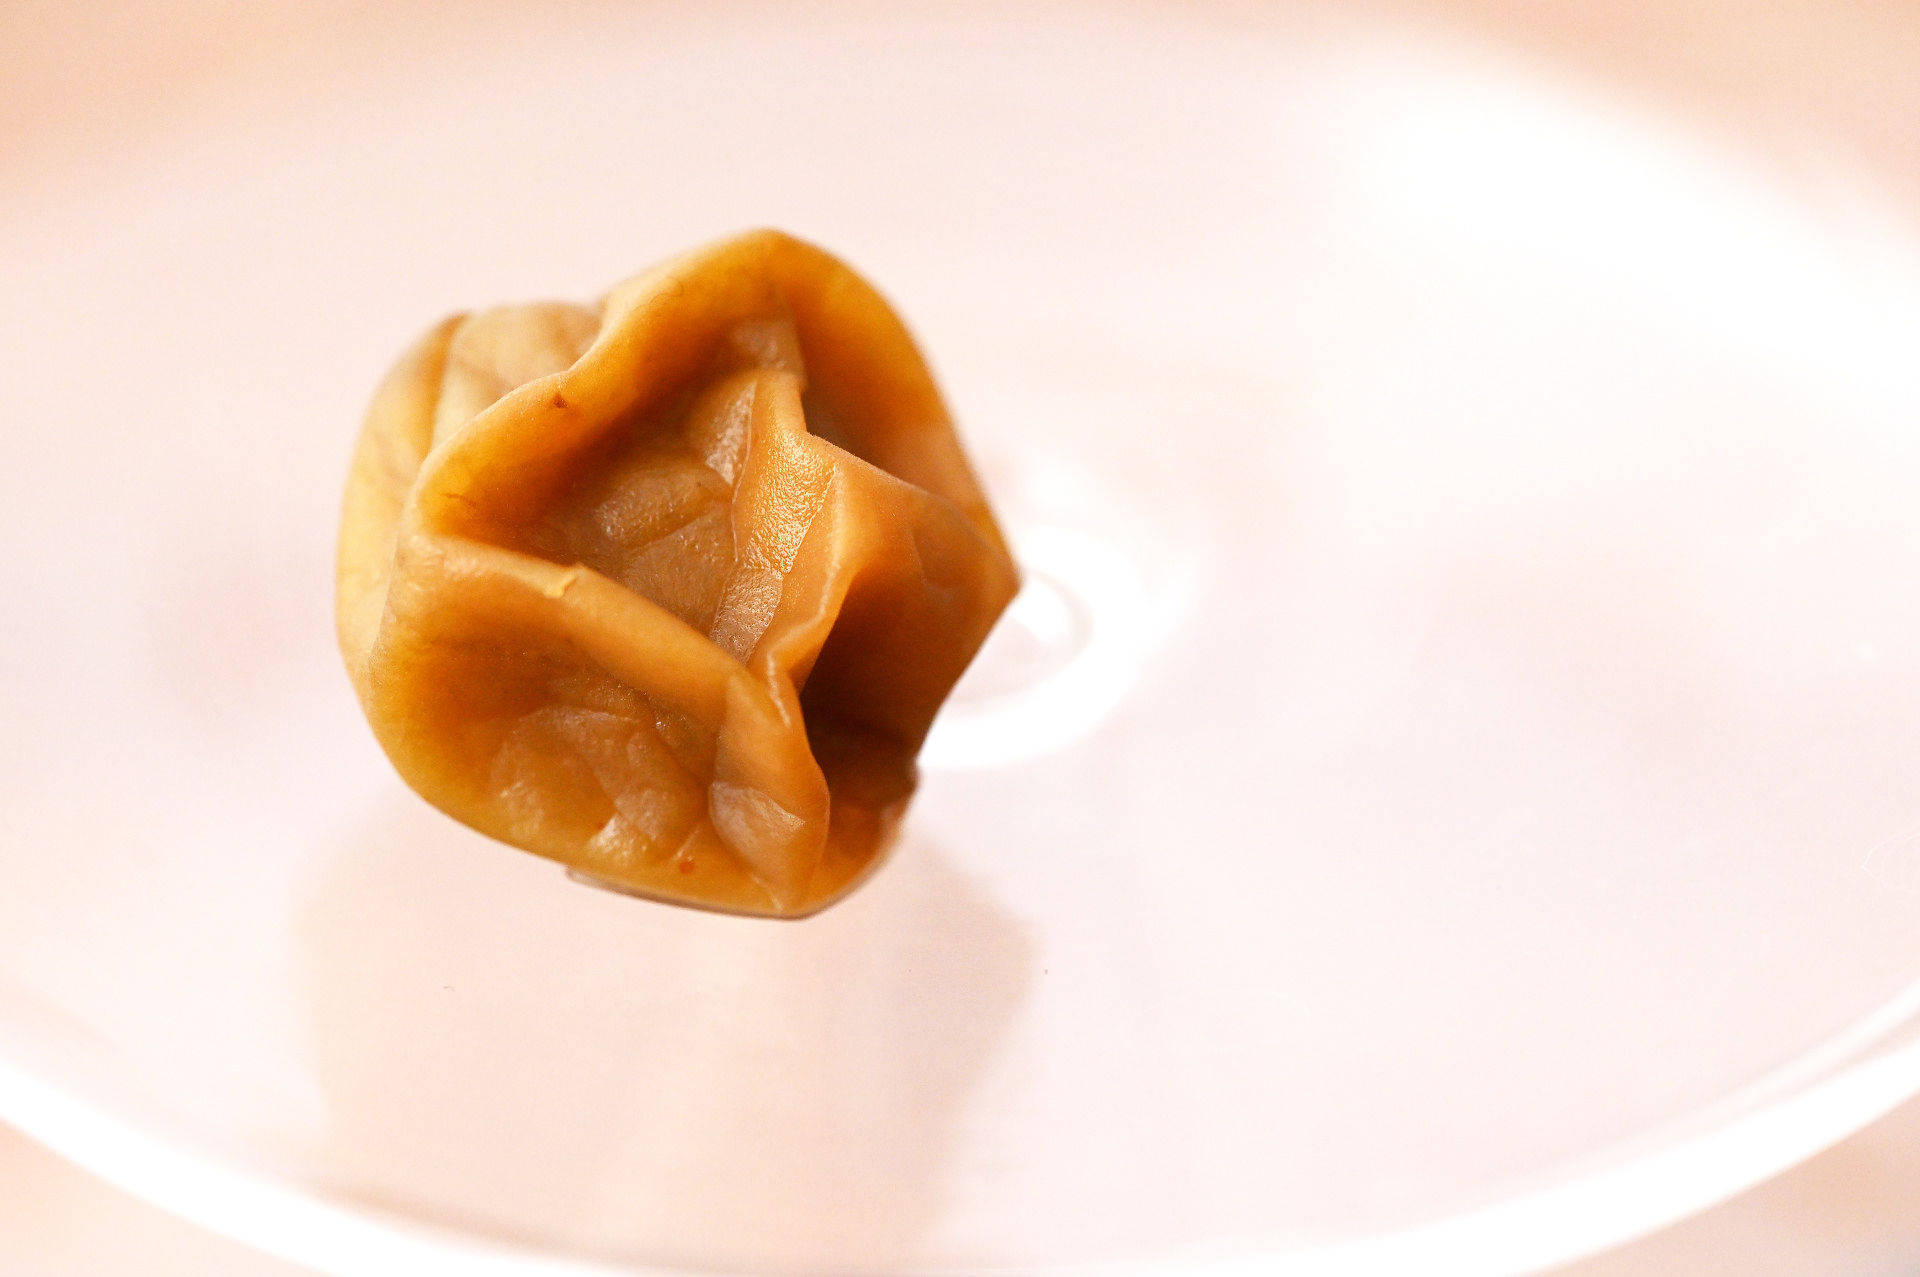
As time goes by, Q Me will darken due to oxidation. The longer the time, the darker the color. (In 2018) preserved sour plums pickled for 5 years turn into deep amber color.
Preserved sour plums, Q Me, Japanese Umeboshi, and crispy plums have similar processing methods, differing in the ratio of sugar added and the dehydration process. The dehydration rate is a technique for controlling the texture of the fruit pulp. Different salt and sugar ratios control the sourness and sweetness.
Preserved sour plums maintain the integration of skin and flesh, and the flesh is crispy and has a satisfying chewiness. Q Me separates the skin and flesh, and the flesh is soft and not crispy, easily mashed into a paste with a sweet and sour taste. Japanese Umeboshi with shiso is the salty version of Q Me with a salty and sour taste. What kind of preserved plums with different tastes do you like the most?
◤Ingredients
1000g Green Plum
100g Coarse Salt
20g Monocrystal Sugar (1st sugar addition)
20g Monocrystal Sugar (2nd sugar addition)
20g Raw Rock Sugar (3rd sugar addition)
20g Raw Rock Sugar (4th sugar addition)
20g Demerara Raw Cane Sugar (5th sugar addition)
20g Demerara Raw Cane Sugar (6th sugar addition)
20g Demerara Raw Cane Sugar (7th sugar addition)
◤Method
- Measure the weight of the green plums. The amount of coarse salt used should be 1/10 of the weight of the green plums.
- Put the green plums in an iron tray and sprinkle with coarse salt. Wear plastic gloves to protect your hands and roll the green plums like playing mahjong. At first, the green plums won’t release any water and the coarse salt won’t stick to the surface of the plums. Try to make sure the green plums come into contact with the coarse salt, which is an important step in removing the bitterness from the plums. Rub the plums vigorously for about 10 minutes until more bitter juice comes out, making the surface of the plums shiny.
- Transfer the green plums to a large plate along with the partially dissolved coarse salt. You can also press a weight on top of the plums to help them release more bitter juice. During the pickling process, stir the plums occasionally to ensure they are evenly coated with the saltwater. Otherwise, the plums at the bottom may become too salty while those on top may not be pickled properly.
- After pickling with coarse salt for one day, the green plums continue to dehydrate, and each plum has a different water content, so some may become soft while others remain hard.
- After pickling with coarse salt for two days, pour off the bitter juice. The green plums will change from green to yellow, and the pickled plums will have a pleasant aroma and no longer taste bitter. The air will be filled with a subtle plum fragrance. It’s normal for some plums to become soft while others remain hard due to their varying water content.
- Dry the green plums in a dehydrator at 45°C for 2-3 hours until the surface of the plums is dry. The flesh doesn’t need to be completely dehydrated, or it will become too dry and tough. Alternatively, you can dry the plums under the sun.
- Mix the sugar (monocrystal sugar or rock sugar) and pickle the green plums. The juice produced from the first and second sugar additions should be discarded. I used cheaper monocrystal sugar, which I ground into powder. Monocrystal sugar has only a sweet taste and no other flavor, so it is less sweet than other types of sugar.
- Sprinkle a little sugar at the bottom of a glass jar, add a layer of green plums, and gently shake the jar to ensure that each plum is evenly coated with sugar. Add another layer of green plums and another layer of sugar. When the sugar comes into contact with the plums, it creates an osmotic pressure, which prevents random fermentation. Cover the jar but don’t seal it. I used a glass jar with a plastic liner, which I removed. Store the jar in a cool place. After about 4-5 hours, the sugar will naturally dissolve, and the green plums will release more juice.
- The juice produced from the first sugar addition may smell good, but it is still very sour and bitter, so it should be discarded. Proceed to the second sugar addition (monocrystal sugar ground into powder). On the second day of sugar pickling, pour off the sour and bitter juice again.
- Repeat the sugar pickling process for a total of 4-7 times using different types of sugar (rock sugar, raw cane sugar, etc.). After each sugar addition, let the green plums soak for one day before pouring off the juice. The juice produced from the final sugar addition should be reserved.
- Use unrefined cane sugar or raw cane sugar for the third sugar addition. Crush the sugar before using it. The aroma of the cane sugar can enhance the plum fragrance.
- On the second day of sugar pickling after the third sugar addition, pour off the juice again.
- On the third day of sugar pickling after the fourth sugar addition, pour off the juice again.
- On the fourth day of sugar pickling after the fifth sugar addition, continue to reserve the juice. Gradually add an equal amount of sugar to avoid the green plums releasing too much juice too quickly, which can cause them to shrink excessively and lose their texture.
- On the fifth day of sugar pickling after the sixth sugar addition, continue to reserve the juice. The green plums will continue to release juice and become concave.
- On the sixth day of sugar pickling after the seventh sugar addition, the sugar liquid will increase, and the green plums will expand again. The number of sugar additions can vary from 4 to 7 depending on the size and water content of the green plums. As long as the sugar liquid covers all the green plums and makes them float, you can stop adding sugar.
- After 30 days of sugar pickling, the expanded green plums will shrink again, and thesugar liquid will become viscous and shiny. The green plums will have a translucent appearance. At this point, the pickled plums are ready to be eaten. You can remove the plums from the sugar liquid and store them in an airtight container in the refrigerator. The sugar liquid can be used as a topping for desserts or added to drinks for flavor.
◤Notes
- It’s important to use clean utensils and containers during the pickling process to prevent contamination.
- The pickling time can vary depending on the size and water content of the green plums. Adjust the pickling time accordingly to achieve the desired texture and flavor.
- Don’t use too much sugar in the early stages of pickling, or the green plums may shrink and lose their texture. Gradually increase the amount of sugar to avoid this.
- Be patient and don’t rush the pickling process. The longer the pickling time, the better the flavor and texture of the pickled plums.
