
![]()
你的關注給我最大的鼓勵,訂閱肥丁 YouTube 頻
The biochemical process of producing substances that the human body needs through the beneficial effects of microorganisms is called “fermentation.” Surprisingly, fermentation can also be applied to extract coconut oil from coconuts. When I discovered this simple and suitable method for home production, I immediately abandoned the smoky heating method that filled the house with fumes. This video provides a detailed guide on how to make virgin coconut oil without using heat, extracting it naturally and preserving its nutritional essence from nature. By consuming it in the correct way, our bodies can return to a natural state, and I hope that you will also find healing and enjoy the process.

The liquid inside the coconut, known as coconut water, is naturally formed during the coconut’s growth process. Coconut milk, which is a milky white liquid, is extracted from the coconut flesh. Coconut water contains enzymes, and coconut milk made from the coconut flesh is more favorable for fermentation. By utilizing fermentation, sedimentation, and freezing methods, it is possible to separate the oil, curds, and water, with a higher number of separation cycles resulting in lower water content and higher quality coconut oil.
There are various methods for wet pressing coconut oil, including distillation, fermentation, freezing, pressing, or using a centrifuge. The fermentation method is suitable for household operations as it preserves the rich, fresh coconut aroma and retains more nutrients, providing a slightly sweet oil. Another method, hot-pressed coconut oil (left), will be introduced in the next video.
Unlike olive oil, there are currently no industry regulations governing the production of coconuts. Various terms can be found on the labels of commercially available coconut oil, including “raw,” “expeller-pressed,” “virgin,” “extra virgin,” “cold-pressed,” “refined,” and “unrefined,” or combinations thereof. Apart from reputable “organic certifications,” other labels and names do not necessarily indicate the extraction and processing methods. There can be significant differences in the quality of coconut oil, which can only be determined through smelling and tasting.

【Ingredients】
Peeled mature coconut flesh: 1000 g
Fresh coconut water: 700 ml
【Selecting Coconuts】
Young coconuts, representative coconuts, and mature coconuts differ in their ripeness. Young coconuts, approximately 30 days old while still on the tree (right), have tender and juicy flesh with clear, sweet-tasting water but less intense aroma.
Mature coconuts, harvested at around 60 days (left), have thicker flesh with less water content and higher fat content. When making coconut oil, it is essential to use sufficiently ripe mature coconuts. Mature coconuts produce more oil compared to immature young coconuts.

【Instructions】
- Open the coconut and extract the coconut flesh and coconut water.
Remove the aged husk of the coconut. Coconuts have three “eyes,” and one of them is usually thinner. With a sharp tool, gently pierce through the thin eye to access the coconut flesh. Place the coconut upside down on a mesh sieve and pour out the translucent coconut water. This prevents any coconut particles from falling into the water. Fresh coconut water should be sweet and clear. If it has a sour taste or becomes thick like oil, it has gone bad and should not be consumed.
- Place a measuring cup under the mesh sieve and invert the coconut onto the sieve to drain out the transparent liquid from the coconut.
- Preheat the oven to 190°C. If there is any remaining water inside the coconut, the heat can generate pressure and cause it to explode. Ensure that all the coconut water has been completely drained before placing it in the refrigerator. Place the coconut in the preheated oven at 190°C and bake for 15-20 minutes. Check every 10 minutes to prevent overcooking. The coconut shell will crack when it is ready to be removed.

- Gently tap the coconut with a knife to crack it open. Carefully cut open the coconut flesh using a knife. Secure the coconut against a tabletop and cut the coconut flesh into 3-4 sections from the center. Then, gently pry open the coconut shell from the middle, easily removing the entire piece of coconut flesh.
- Use a peeler to remove the brown fibers from the outer surface of the coconut flesh. It is easier to start peeling from the edges. Place the coconut flesh in water to wash away any residue. It is challenging to cut the coconut flesh from the front or back, so it’s best to cut it into sections from the side along the vertical lines. Arrange the sections with the vertical lines facing upwards, then dice the coconut flesh into approximately 1 x 1 cm equal-sized pieces.

- Divide the diced coconut flesh into two portions and add coconut water. Start the blender or food processor on high speed to blend it into a thick coconut milk. I used the BLENDTEC juice mode and blended it twice for a total of about 2 minutes.
- Place a cotton cloth bag on top of a mesh sieve and pour the thick coconut milk into it to strain. Squeeze the bag with both hands to extract all the coconut milk, making sure to squeeze out every last drop. Pour out the remaining dried coconut residue, which is called “coconut pulp.” Once the coconut pulp is clean and dry, it can be used as shredded coconut.
- Add the remaining diced coconut flesh to the blender/food processor and mix it with the freshly strained coconut milk. Blend it again on high speed using the BLENDTEC juice mode for 2 cycles. Squeeze out all the thick coconut milk. If you’re not making coconut oil, the coconut milk can be stored in the refrigerator for 5-7 days.
- Due to the high fat content in mature coconut flesh, let it sit for about 1 hour, and the liquid fat will naturally separate and float to the top.
Natural Fermentation
- Cover the container with plastic wrap and place it in a fermentation chamber at a temperature of 40°C for 16 hours (similar to yogurt-making temperature). During fermentation, avoid frequently opening the container to prevent heat loss, and do not move the container. After fermentation, plant proteins will float on the surface, and the coconut milk will have a stronger coconut aroma.
- After 16 hours, remove the fermented coconut milk from the fermentation chamber. Allow it to settle and separate into four layers:
- Layer 1: The lightest coconut oil floats on top.
- Layer 2: Dehydrated skim milk, appearing as a milky white layer.
- Layer 3: Coconut acid water.
- Layer 4: White sediment.

- The transparent liquid floating on top is the initial separation of coconut oil. Separate the solidified skim milk from the coconut oil and proceed with dehydration. Place it in the freezer at -16°C for 45 minutes. The freezing time doesn’t need to be too long; once both the coconut oil and skim milk have solidified, it is sufficient. Coconut oil, skim milk, and acid water will solidify into different hardness levels when frozen. The pure white solid coconut oil will form into blocks and float on top, making it easier to extract.
- Prepare two clean bowls. Place the solid white coconut oil and any larger fragments in one bowl. In the other bowl, place the grayer-colored skim milk and smaller fragments of white coconut oil. Use a mesh sieve to scoop out the skim milk and pour off the acid water.
- Coconut oil is solid below 24°C and in a solidified state at room temperature (around 20°C). When tested on human skin, the white solid coconut oil will melt into a transparent liquid oil. The skim milk still contains some moisture and will melt into a milky liquid in your hands.

- Cover both bowls with plastic wrap and place them back in the fermentation chamber to maintain warmth. Allow them to undergo a second round of settling and fermentation at 40°C for 10 hours.
- After 1-2 hours, the transparent coconut oil floating on the surface will become increasingly clear and translucent.
- After 10 hours, you will notice distinct layers in the liquid inside the bowls:
- Upper layer: The transparent layer is the coconut oil.
- Lower layer: The white layer is the dehydrated skim milk.

- Using a mesh sieve, skim off any impurities floating on the surface of bowl 1. In bowl 2, there is more skim milk, so carefully skim off all the white skim milk.
- Place both bowls in the freezer at -16°C for approximately 30 minutes. This will further separate the oil from the water. The coconut will solidify, and you will see two distinct layers: pure white coconut oil and slightly grayish skim milk.
- Remove bowl 1 from the freezer, and transfer bowl 2 from the -16°C freezer to a 4°C refrigerator.
- In bowl 1, the coconut oil will have solidified, while the skim milk will be softer and easy to scrape off with a knife. Scrape off the grayish skim milk completely, and what remains is the coconut oil.
- The dehydrated skim milk does not release oil when heated but has a rich coconut flavor. It is suitable for cooking curries or soups. In bowl 2, after being transferred to the 4°C refrigerator from the -16°C freezer, the coconut oil will solidify, and the separated skim milk will melt in the refrigerator. The coconut oil can be easily dehydrated, but it may have uneven pits at the bottom, which are formed by water. These pits must be scraped off completely, and any excess moisture should be absorbed using kitchen paper towels. Coconut oil with higher moisture content is more prone to spoilage.
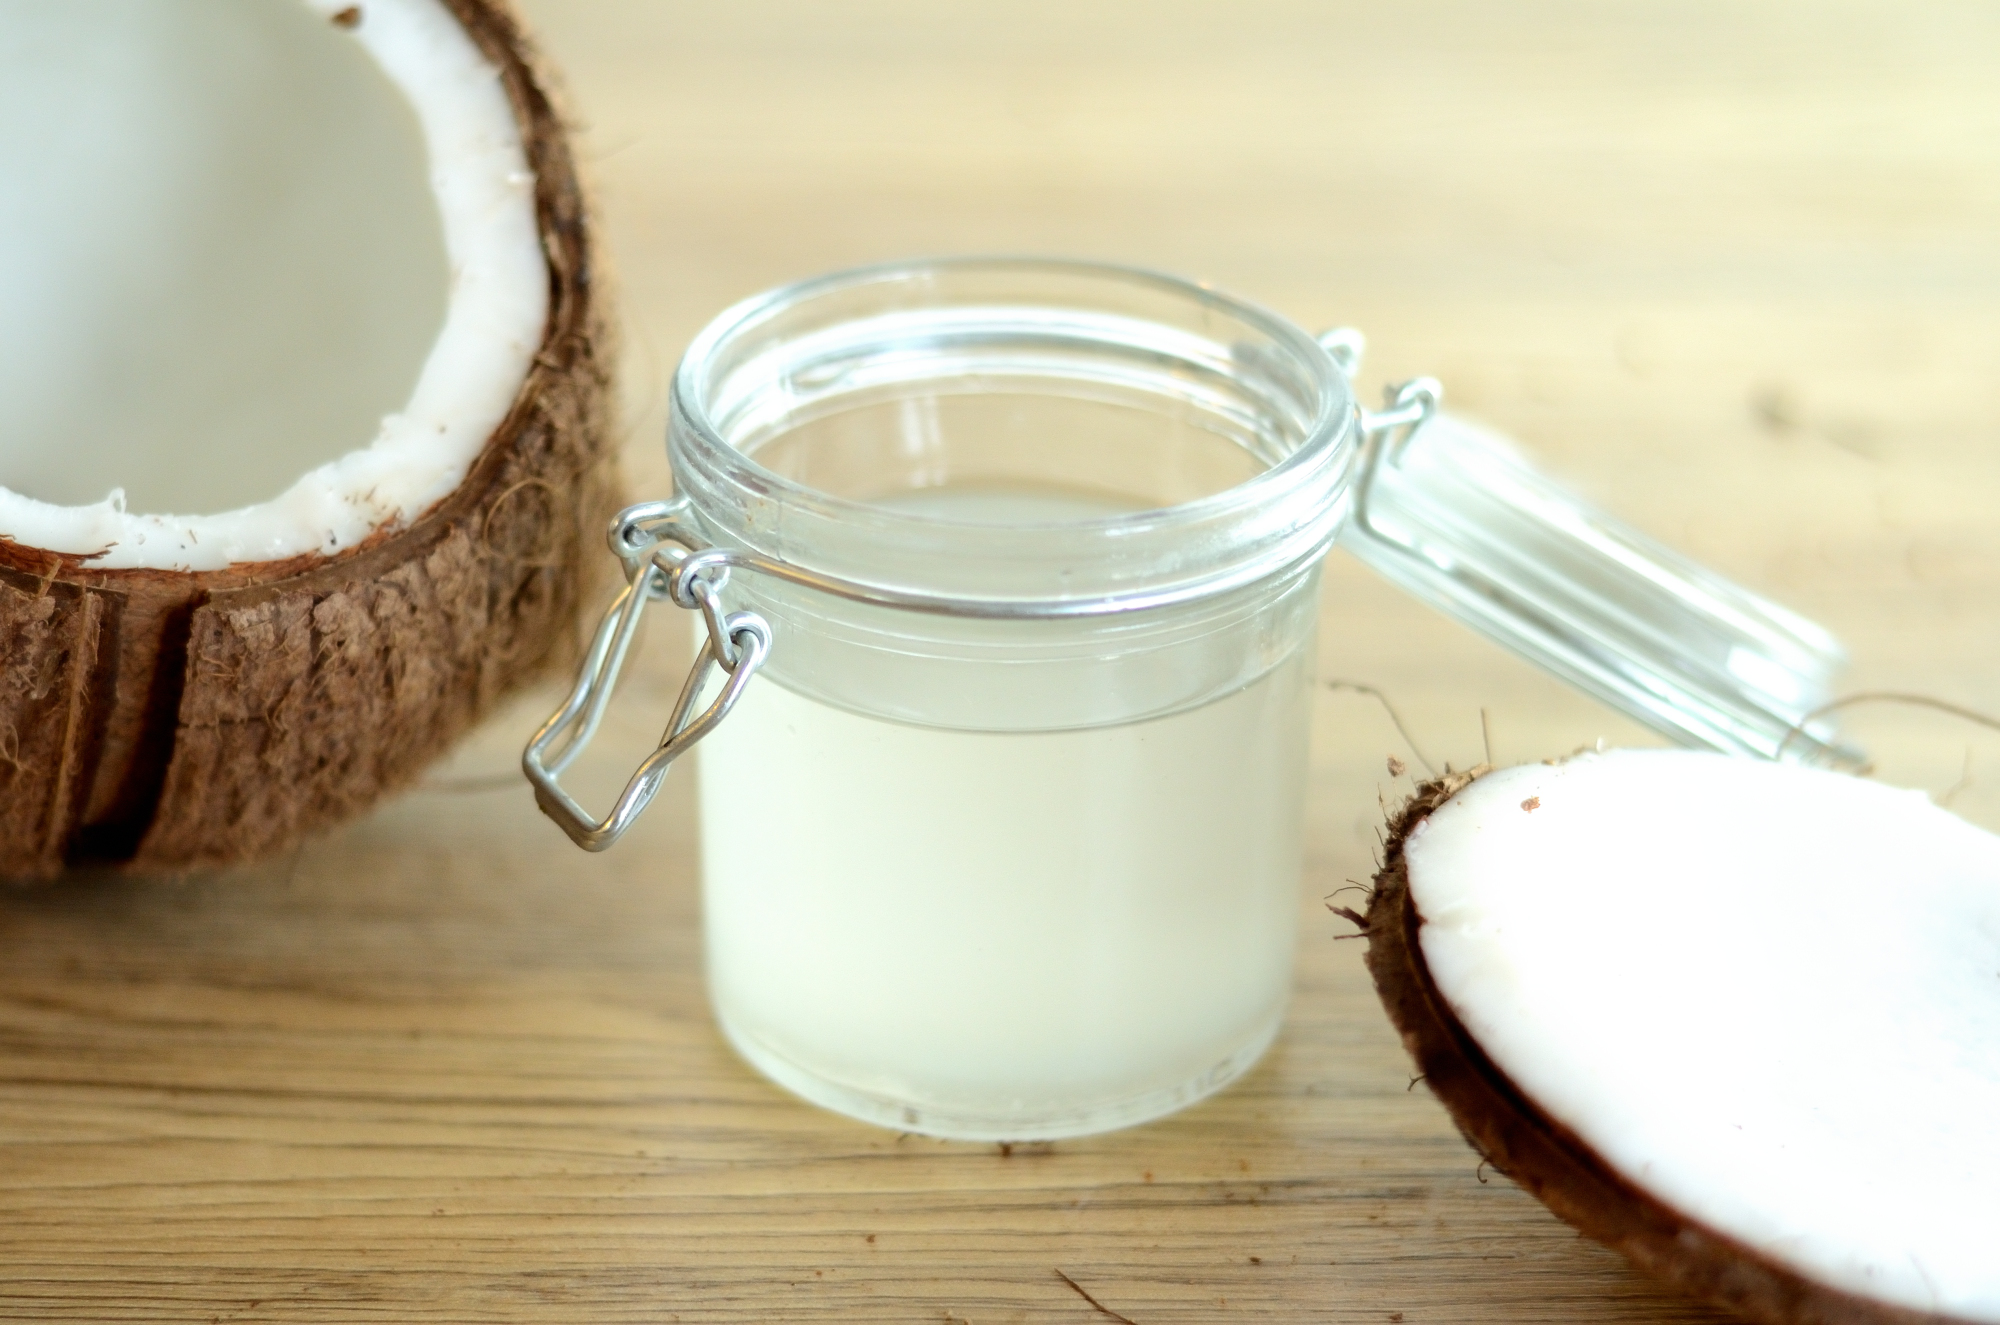
- Place the solid, snowy-white coconut oil into a sterilized glass jar. Heat it in a water bath. Coconut oil will melt into a liquid state above 24°C and become clear as water when in a liquid form. In this experiment, 1 kilogram of coconut flesh produced 160 grams of coconut oil. Store the coconut oil in a cool place or refrigerate it. It can be stored for 3-4 months at room temperature.

